


I. Configuring the Authentication Mechanism
- Create Policy Contract

- Create Policy

- Map the Policy to be available for OAuth

II. Configure Token Mechanism
- Create Access Token Management

- Map the Access Token Manager with Authentication Mechanism

III. Configure Scopes
- Configure required scopes in the Scope Management

IV. Onboard the Client application
Get the below details and onboard the client
i. client_id
Ii. client_secret
Iii. redirect_uri
Iv. Scopes
v. Access Token Manager
- Login to the PingFederate Console

- Navigate to: Applications ➝ OAuth Clients

- Click on “Add Client”

- Enter Client Details:
client_id and name

- Under CLIENT AUTHENTICATION, choose: CLIENT SECRET
- Generate Client Secret -> Click Change Secret ➝ Generate Secret
- Set Redirect URI:
- Example: https://www.amazon.in/
- Restrict Scopes:
Click Restrict Common Scopes - Grant Types:
Scroll down and select the required grant types (bottom options) - Access Token Manager:
Choose: ATM1 as the default Access Token Manager - Save the Application


🔐 Testing Through Browser and postman – method1
1. Create Request in postman
- Create a collection in postman
- Click on “…”Add a new request and rename it (e.g., AC_Client1).

2. Select Method & Enter URL
Select POST method in Postman.

Use the following format for the token URL:
<Base URL>:9031/as/token.oauth
ex: https://192.168.150.159:9031/as/token.oauth2

3. Set Request Body
- Choose x-www-form-urlencoded in the Body tab.
- Add the following key-value pairs:

4. Generate Authorization Code
Construct the authorization URL like:
[Base URL]/as/authorization.oauth2?client_id=AC_Client1&redirect_uri=https://www.amazon.in/&scope=123 email&grant_type=authorization_code&response_type=code
Ex -> URL
[https://192.168.150.158:9031/as/authorization.oauth2?client_id=AC_Client1&redirect_uri=https://www.amazon.in/&scope=123email&grant-type=authorization_code&response_type=code]
- Paste the URL into Incognito browser window.
- Login with your credentials.

- After login, amazon website a code appears in the redirect URI
- Example: https://www.amazon.in/?code=abc123XYZ
- Copy the code value.
- Example: https://www.amazon.in/?code=abc123XYZ

5. Use the Code in Postman
- Paste the copied code into the code field in Postman.

6. Set Redirect URI
- Copy Redirect URI from the ping federate.

7. Send Request
- Click Send in Postman.
- If all values are correct, you will receive an access token in the response.

Testing through postman – 2nd method
1. Open Postman and Create a Request :-
· Click the “…” tab in PING OAuth to create a new request and rename as obtaining Access Token Using Authorization Tab in Postman


2. Go to the Authorization Tab :-
· Select the “Authorization” tab located in the request window.

3. Select Authorization Type :-
· In the Type dropdown, select OAuth 2.0.

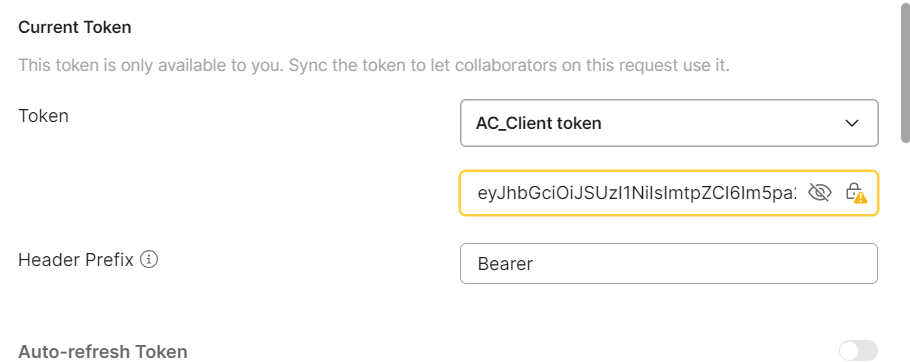
-> give the token name in upper box,in lower box paste the end point token
4 . coming to Configure new token :-
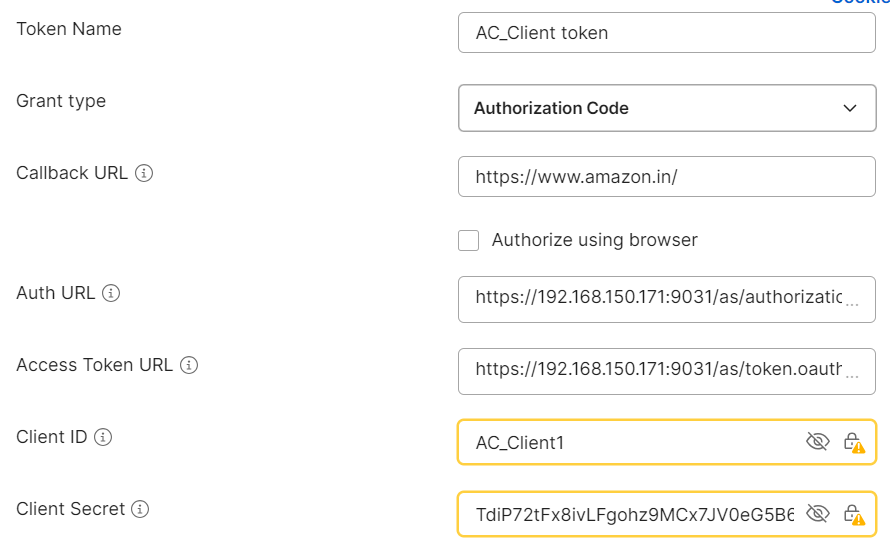
· Provide the required fields as per your authorization server’s configuration:
| Field | Description |
| Token Name | A name to identify your token (e.g., `My OAuth Token`) |
| Grant Type | Select `Authorization Code implicit |
| Callback URL | Redirect URI registered with your identity provider (e.g., `https://oauth.pstmn.io/v1/callback`) |
| Auth URL | The authorization endpoint URL |
| Access Token URL | The token endpoint URL |
| Client ID | Provided by your identity provider |
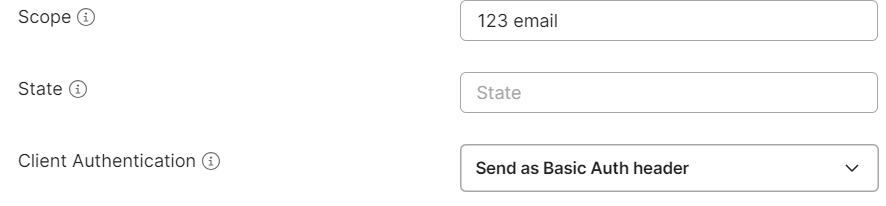
| Scope | (Optional) Define access levels (e.g., `openid profile`) |
6. Click “Get Token” :-
· After entering details, click “Get Token”.

· Postman will redirect you to the login page.

· Authenticate using your credentials.
· Postman will receive and display the access token.
🔓 Decode Postman Token by Using JSON web token debugger
✅ DECODE WITH JSON WEB TOKEN
1. Send Request and Get Token
Ensure your request in Postman uses OAuth 2.0 Authorization Code to get the access token.
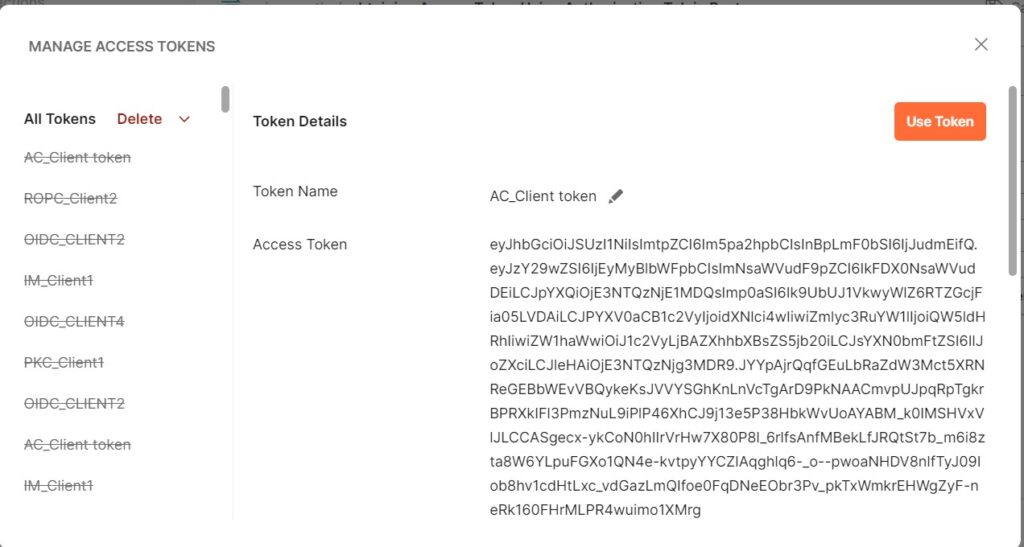
2. Extract the Token
After clicking “Use Token”, the token is attached to your request. You can extract and decode it using the json web token.

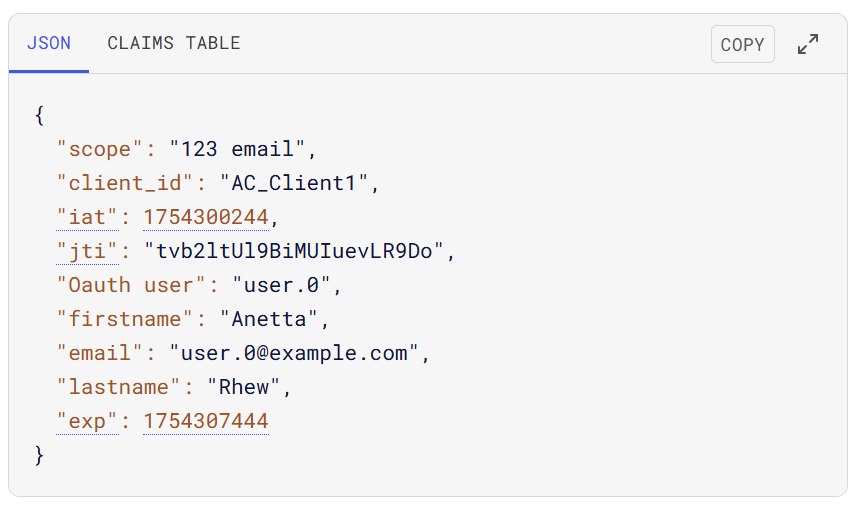
3. After entering into json web token website click on clear then preinstalled code will be removed

4.Copied postman token have to paste here

5.Once code is pasted the code will be automatically decoded and client details can view

Also Read
The below rest of the articles give you the more information about the OAuth in PinFederate. You may love reading them.
- Components of OAuth 2.0 in PingFederate
- Understanding OAuth Grants: Types, Flows, and Applications
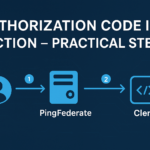
- Authorization Code Grant Flow in OAuth 2.0
- OAuth Implicit Flow in PingFederate
- Authorization Code with PKCE Flow | PingFederate
- Client Credentials Grant Type in OAuth 2.0
- Resource Owner Password Credentials (ROPC) Grant Flow in OAuth 2.0
- Refresh Tokens in PingFederate OAuth 2.0
- OAuth 2.0 Introspection Endpoint
- PingFederate OAuth 2.0 UserInfo Endpoint
- PingFederate OAuth 2.0 Token Revocation Endpoint
- Exploring OpenID Connect (OIDC) in PingFederate
- An Introduction to Identity and Access Management
- SP-Initiated SSO Flow
- Understanding the SAML Authentication Flow for IDP Initiated SSO
- Understanding the SAML SP-Initiated Single Logout (SLO) Flow
- LDAP Overview: Architecture, Terminologies, and Data Storage
- Adding an OAuth AC Client in PingFederate,getting endpoint token and authorization code token,json web token
- PKCE WITH OAUTH 2.0 IN PING FEDERATE
- Implicit Grant in PingFederate ,postman token and json web token
- (ROPC)Resource owner password credentials in ping federate,postman and json web tokens
- (OIDC)Open ID Connect in ping federate,obtaining postman token and json web token